

- There have been so many great projects and tutorials! If you have missed some, stop by the SewLux blog for the schedule, then check out what everyone has made! Be sure and check out how to win prizes, and don't forget all charm packs are on sale!
Next let's take a look at my Comma Basket! I just love the bright colors mixed with the
natural linen. And piping! This was my first time using piping and I love the finished look it
gives the basket and pockets! It has pockets all the way around it on the outside.
This basket finishes at 11.5 in tall x 9 in round.

I made this with one pack of Moda Candy. Have you seen these awesome little packs of fabric? They are mini charm packs! They are 2.5in x 2.5in squares of each print in the line, with some duplicates. There are 42 pieces in each pack, just perfect for a smaller project!
What you will need:
-One pack of Moda Candy in your choice off pattern; I used Comma by Zen Chic for Moda
- 2 - 1/2 yd each pieces of fabric for your basket lining; for the linings and circular bottoms. I used Kona solids in two shades of green, both were available at JoAnn's. You may choose to only use one fabric- in that case increase your yardage to One full yard.
-1/2 yd of fusible interfacing. I used Pellon SF101; again available at JoAnn's
- one package of 1/2 in piping. I used Wrights Maxi Piping in Lime from JoAnn's.
- 1/2 yd of 1.5 in belting in oyster for your handles. Available at JoAnn's.
- 1/4yd linen in natural for the bottom panel pockets.
- All purpose thread to match fabrics and piping
- See through ruler
- Fabric marking pen or pencil or chalk
- Iron/ironing board
- Seam gauge
- Rotary cutter and mat, scissors
- Straight pins
- Spray starch if you prefer (I did not use it on this project)


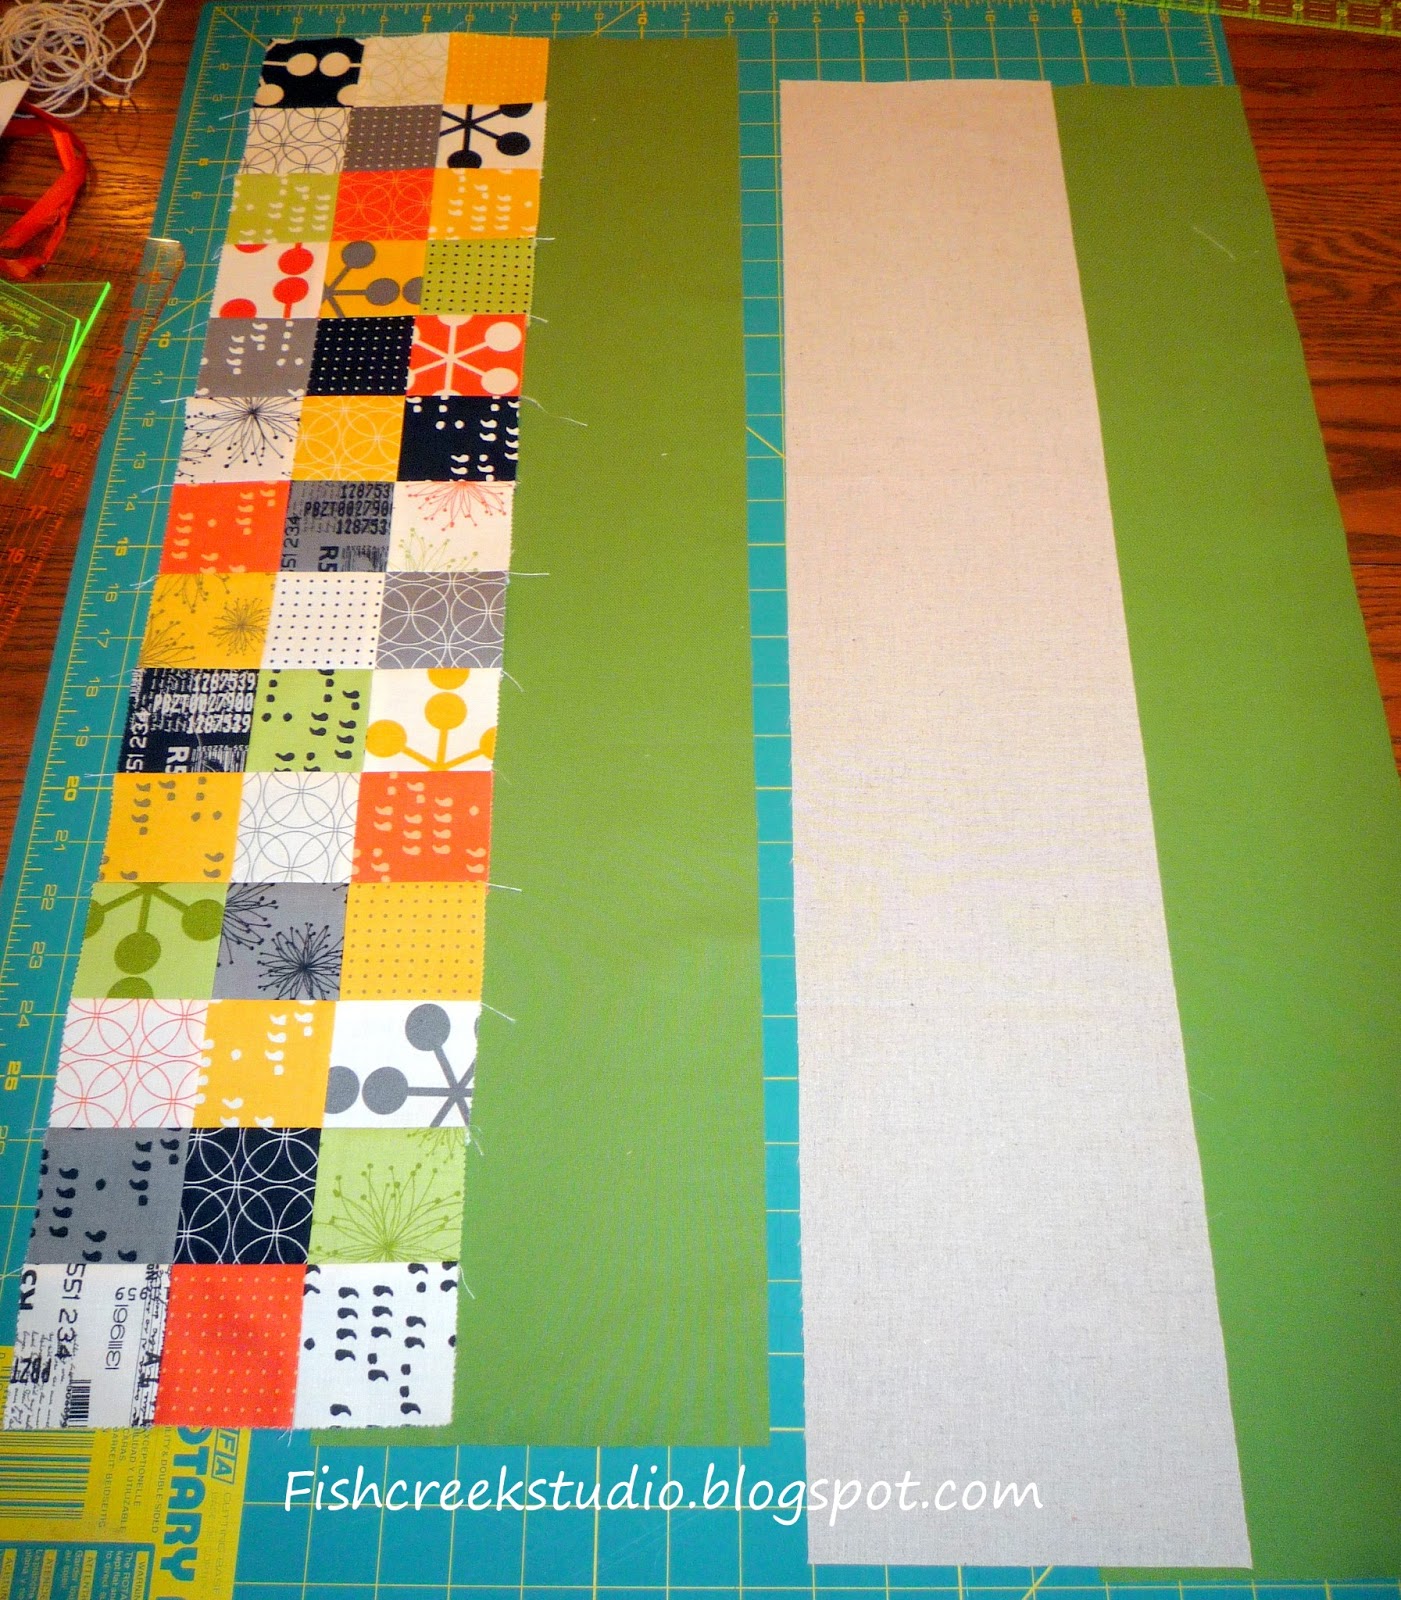
I alternated the pressing of the seams so that they would nest together when I joined the rows together

And I alternated directions when joining the seams of the three piece strips. I would start at the top and sew down on one and with the next piece I joined together, I would start at the bottom and sew upwards. I find that this helps to minimize any stretch you may get and it keeps your patchwork more square and true. When finished I pressed all the vertical seams to one side.
Next square up your patchwork piece at this time if you have had some stretching. You should end up with a patchwork of 6 1/2 in by 28 1/2 in
Next: Cut the following:
-Three 6 1/2 in tall x 28 1/2: wide rectangles for the pockets, pocket lining and bottom of the patchwork/main body of basket.
I cut the outside pocket piece from the natural linen and the pocket lining and bottom of patchwork from my dark green Kona.
-Cut two 1.5in x 9 inch strips of belting for the handles
- Two 29 in pieces of piping. Or you may wait and measure it /cut when you apply it.
- One - 9 inch circle for the bottom of your basket. I used dark green.The easiest way to do this if you do not have a large compass/retractor is to use an 8 1/2 in paper plate and add approx 1/2 inch to the outside and cut. This is the regular size paper plate not the large size.

Next you need to cut your interfacing.
- Cut one 11 1/2 inches tall by 27 1/2 wide. This will be the interfacing for your main body/patchwork piece
- Cut one 9 inch circle. This will be for the bottom of the basket.
- Cut one 5 1/2 in tall by 27 1/2 in wide. This will be for lining of your pocket panel.
For the Lining of the basket cut:
- one 12 1/2 inch tall by 28 1/2 inch wide piece. I used light green
- one 9 inch circle for bottom of lining
Assembly:
Find the 6 in x 28 1/2 inch exterior pocket piece. Take your piping and cut a 29 inch piece. Pin it to the top of the exterior pocket piece. It should be laid on top of the exterior pocket piece - which is right side up, with the cording towards the bottom and the straight edge against the top edge. Use a seam gauge to measure and make sure the piping is 1/2 in form the top edge of the fabric.

Pin and baste the piping in place using a 3/8 inch seam allowance.

Next open the lining out and then fold down. By folding down ( your exterior pocket panel and interior lining are now wrong sides together) the piping will stand straight up. Press the seam flat.

Now on to the main patchwork panel.
Find the 6 1/2 in tall x 28 1/2 in wide piece of fabric that you are going to use as the bottom of the main body. ( I used dark green).
- Right sides together with your patchwork piece, match the seams, pin and sew a 3/8 in seam.
- Open seam and press open
- Next find the 11 1/2in tall x 27 1/2 in wide piece of interfacing and fuse to patchwork piece per the manufacturers instructions. Your interfacing should be approx 1/2 inch from the edges.
- Do the same thing - adding interfacing to your pocket panel. I fused to the linen.

Set the lining aside for now.
-Next take the main patchwork/body of the basket and lay it right side up on your work surface. Smooth out flat. Take the pocket panel and align it with the edges of the main patchwork panel. Align the raw edges on the side and bottom. Smooth out flat. Pin in place.

-Using an erasable fabric marker or pencil, or disappearing marker, draw a line at each point where you would like to divide off a pocket.
-Next stitch down the line(s) you drew. You may want to use a different color thread to set this part of your work off. I used a lime green thread to stitch my pockets down. I also started at the bottom raw edge of the pocket and stitched upwards toward the piping. It is easier that trying to start at the piping and work down. I also used a lock stitch for a cleaner look vs. backstitching.


Now we are going to add the piping to the top of the patchwork. We will do it exactly as we did with the pocket.
-Place patchwork piece right side up. Lay piping with straight edge against the top raw edge of the patchwork.
-Use seam gauge to measure in 1/2 inch. Meaning that the cord is 1/2 inch from the raw edge.
-Pin and baste with 3/8 inch seam
- Pull back the covering and pull out approx 1/2 inch of cording only and cut off. Do not cut off the covering. Again this ensures when the cording overlaps at the seam it is not bulky and lays flat.
Now you get to go from a flat piece to a round basket!
-Fold the patchwork/main body in half with right sides together. Align and match the raw edges. Be sure and match up the piping on your pocket panel.
-Sew with 3/8in seam allowance. Press seam open. Turn basket right side out.

It should resemble this picture. The pocket panel with the piping is on the bottom. You cannot see the bottom of the patchwork panel.
Next we will add the handles.
-find the 2 handles. They should be 1 1/2 in wide x 9 inches long.
-Place a handle at the main side seam. Place second handle directly across (opposite) from that - I actually had a seam in the patchwork on the opposite side of the main/full length seam, so placement was easy. You may also have this.
-Measure one inch from the seam on either side, and carefully position your handle ends.Your handle end should be aligned at the top raw edge over/on top of the piping. Pin in place. Make sure they are not twisted.

Next find your lining piece. With right sides together sew the side seam with a 3/8 in seam. Press seam open.
Take your finished patchwork/main panel ring and slide it on the inside of the lining ring. Right sides together.
- Next pin the two together all the way around the top edge ensuring that you match the seams.
-Stitch along the top edge with your zipper foot, just as you did before. This will be a 1/2 inch seam, if you used your seam gauge and measured.

- Take the lining and pull up and over the main body. Again your piping should be standing straight up. Smooth the lining down and press the top seams. Your handles should be standing up also. Your basked should look like the one above-- everything but the bottom :)
-Next take your 9 inch circles - the bottoms of your basket and your lining. Fuse the interfacing to the bottom of the basket circle.
-Now pull your two layers apart from what they are in the pic above. You need to work with each layer separately to sew on the bottom
It is easiest when working with a circular base to attach/pin it in sections. Take your patchwork tube and fold it in half, pin where the fold lines are. Now open it and fold it in half the opposite way, pin where your outer folds are. This quarters off the circle.
Take your bottom circle and fold it in half, press the edges, fold in half again and press the edges. This also quarters off the circle. Now match the pins up with the pressed lines on the bottom circle. Pin. Work in any fullness you may have as you pin around the circle.


-Repeat for the lining circle bottom. Be sure to leave a 6-7 inch opening, so that you can turn the basket right side out.

Now turn the entire basket right side out through the opening. Push the lining down into place inside the basket. Press the seams for a crisp finished look.
-Finally turn the raw edges in the lining opening inwards and press or pin. Whipstitch closed.


To carry paper plates and napkins and plastic utensils outside to the deck or picnic table on the nights you grill out!


Use it to pack up a project when you want to take it somewhere, whether that be a different room or to a friends or guild meeting.

Use it as a nice bath/toiletry basket for your guests! Leave it packed in their room and when they are ready to get cleaned up in the AM they can just grab it and go and not have to worry about where the towels are!

If you live in a multilevel home, use it to keep an exta change of clothes in for a little one, so you don't have to run up and down those stairs.
If you make my Comma Basket, I would love to see a pic of it! Just shoot me an email with a pic at ginnyf260@gmail. com. Or if you upload to Flickr, shoot me an email telling me where to go look! I hope you enjoyed this tutorial and the Sew Lux Charm Madness Blog Hop!
Don't forget to go sign up for those prizes! And I used one mini charm pack with 42 charms :)
Happy Stitching!
Ginny
4/4 Edited to include my linking up to crazymomquilts Finish It Up Friday!

I love fabric baskets. Thanks for the great tutorial.
ReplyDeleteClever. I can think of a thousand uses for a basket like that. Thanks for sharing.
ReplyDeleteGreat basket - now on my list of things to make :)
ReplyDeleteThat's adorable! I love the little pockets on the outside...and with the toothbrushes, just perfect!
ReplyDeleteI've never used piping either...you did a lovely job. Thanks for sharing.
I love this tutorial - I really need to try it soon!
ReplyDeleteIt looks great! And I love all the different ways to use it!
ReplyDeleteThat is fabulous. I love the brights with the linen look!! I can see using this for many things. Thanks for the great tutorial.
ReplyDeleteVery nice! I have this bookmarked ; )
ReplyDeletethat is so cute. love the piping. great tutorial.
ReplyDeletelove the piping - great touch!
ReplyDeleteand the pockets on the outside - lovely!!
Love your use of the piping!! Makes your basket even more attractive!! Great use of the Moda Candy. I actually have a couple of those sweet little candy packs and this would be a great use for one of them. Thank you for a great project, tutorial and inspiration on how to use the fabric basket. Hugs.
ReplyDeleteGreat basket! I really want to make one of those! Thanks for the detailed instructions!!!!
ReplyDeleteLovely basket and great tutorial Ginny. I like the idea of filling it for the guest room!
ReplyDeleteLove your fabric basket - such a great way to use up those mini charm packs too!
ReplyDeleteCute bag; thanks for the tut. I've not used the mini-charms but I can sure see the possibilities and your bag was perfect for them.
ReplyDeleteYour tote is soooo cute! Thanks for the great tutorial :)
ReplyDeleteI love this basket!!! I am sold on the pockets. So cool.
ReplyDeleteNeat basket! The piping does add a nice touch. Thanks for the tutorial. I'll have to add it to my growing to-do list!
ReplyDeleteI have some comma FQs waiting to be cut up for a project. I think I also see a Comma basket in my future too.
ReplyDeleteThis is a great looking bucket and you know I love Comma
ReplyDeleteso sweet. this kind of basket is so useful
ReplyDeleteLove it - wonderful basket
ReplyDeleteThank you for this fabulous tutorial! I love the fabric that you used. It is one of my favorites!
ReplyDeleteEsther
I just bought it this line!
DeleteThanks for the inspiration!
Esther
WoW! What a gorgeous bag! It is beautiful and love the piping detail. Love those little candy charms and now I have a project for them! You did an awesome job with your tutorial and I'm glad you included lots of photos. Thanks for sharing with us, super job!
ReplyDeleteusairdoll(at)gmail(dot)com
Great bag! It's going on the list! So cute!
ReplyDeleteThat is such a great tutorial!! Your basket looks fabulous in Comma!!
ReplyDeleteOh, I love this SO much. I may be making this next week! I have a regular charm pack that I can cut down into that size! Such a CUTE basket. Great tutorial!
ReplyDelete